
Personalizations work by inserting data fields from a contact’s information into your message body.
Text based information such as a contact’s first name, last name, and even date and time can be inserted into a message.
Step 1
Compose a new message by selecting “Messages” on the navigation on the left hand side of the web page.
Select “Mass Messages”, and then press “Compose”.
Once there you can go ahead and create a new message. If you are unsure of the steps to create a message, check out the tutorial of how to send a message.
Step 2
To add a personalization to your message, select the icon just below where you would normally type in your message body:
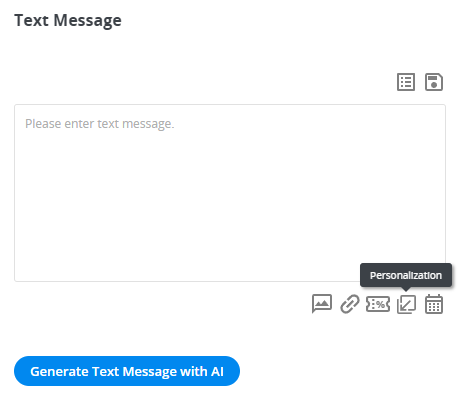
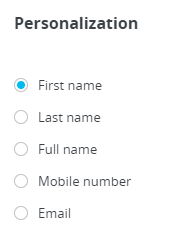
From there you can select the text based data that you would like to insert into your message:
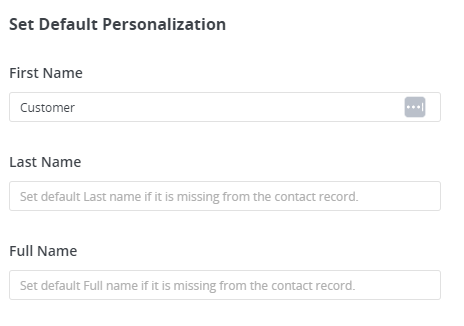
When selecting first name, last name, or full name, you will have the option to set a default. These default names will be used when you are sending a message to a group of contacts and a contact’s name is not available to be inserted:
Please note that the character’s used when using a personalization will vary based on the personalization that you and your team would like to insert in your message.
Once you’ve completed composing your message, send out your message as normal.