
Before we begin there are some things that you need to complete before you can import contacts
- To import contacts onto our platform, you must complete an import certification. If you have not completed our import certification, you will be prompted to do so before being able to import your contacts.
- The only file format that is able to be imported to our platform is a comma separated values file, also known as a CSV.
- Make sure that your file name is free of any spaces and non-English letters in your filename.
- In your file please make sure that the column containing numbers contains only numeric characters. This means that no spaces, hyphens, parenthesis, or periods will be in the cells containing a number. Additionally if your number is an international number, you can declare the country code in a separate column from the phone number.
Importing Process
You are now ready to begin importing contacts onto our platform. Begin by navigating to your contacts by selecting “Contacts” found on the navigation panel on the left hand side of our page, selecting “All Contacts”, and finally selecting “Add Contacts” on the upper right hand corner of the page. In this tutorial we will be using the import method as our way of adding contacts.

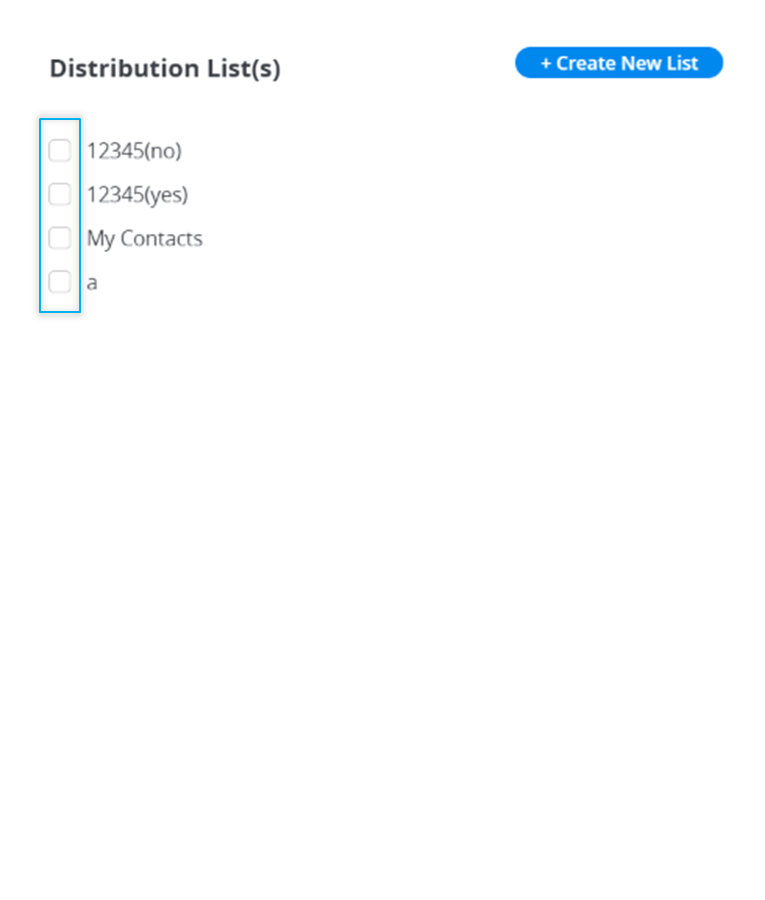
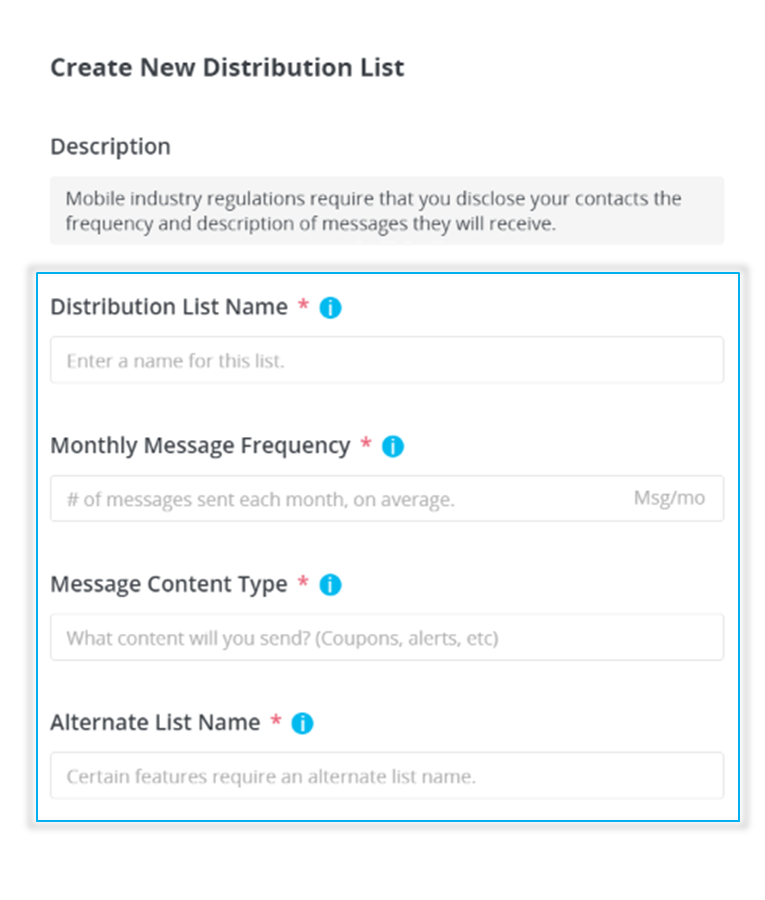
- To add contacts into our system, we need to decide which distribution list we want to add them to. We have the option to add them either into an existing distribution list or we can create a new distribution list now. In this case we will add our contacts from this import file into an existing distribution list named “Tutorial Contacts.”
- Next we need to decide how to handle invalid contacts. This will decide how our system will handle contacts that were unable to be imported. We have 2 options:
- 1 is to Discard only the invalid contact field and import the rest of the record.
- 2 is to Discard the entire record.
- For our tutorial we will leave the default option of discarding only the invalid contact field and still importing the rest of the contact data

- Now we will decide how to handle already existing contacts. We have two options to choose from
- Replace the existing record with the new record being imported.
OR - Keep the existing record and do not import the new record.
- We will keep the default option of replacing the existing contact with a new contact for this tutorial as well
- Replace the existing record with the new record being imported.

- Now we can drag and drop the CSV file that we had prepared earlier into the designated area. If there is any issue with the file that we are attempting to import, a red exclamation point will appear, and provide the reason to why the file cannot be imported when hovering over it.
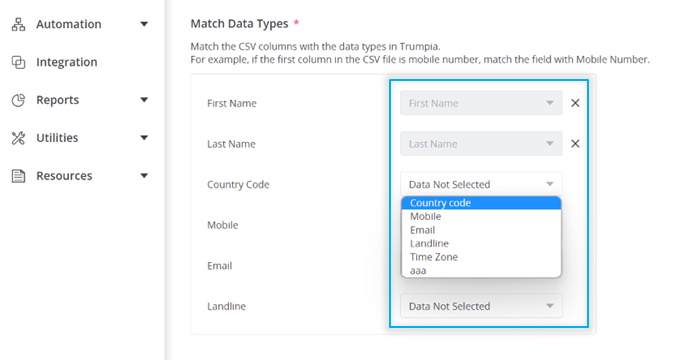
- We can now match up column headers from the import file with our platforms equivalent.
- The column header “First” contains our contacts first name, so we will match it with “First Name”
- We also have our mobile number listed as “Phone” and we will select the data from here as “Mobile”
- Now we can select “Add” and your contacts will begin to be added into our system. Depending on the number of contacts that are being added this can take up to a few minutes to complete.
Import History
- You can review your past import attempts and see how many contacts were added from the import process by selecting “Contacts” and then “Import History”. The import history will be named by the file name. If we select our recent example, we can see that all of our contacts were added successfully. If any contacts had failed, we can select “Export Discarded Records” to download a file of all contacts that failed to be imported along with the reason for failure.