
A text keyword is a word or short phrase that new subscribers can text to opt in for your messages. Here’s how you can create a text keyword on Trumpia texting software.
Step 1: Keyword Sign Up
To create a keyword, select “Campaigns” on the navigation bar on the left hand side, then select “Keyword Sign-ups”.
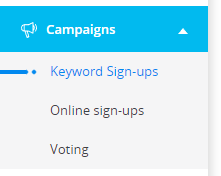
Within this section you will select “Create Keyword” on the upper right hand corner of the page.
Step 2: Setup Your Text Keyword
First you need to fill out the Keyword field. This will be the word or phrase that you would like new subscribers to text to opt in.
The Internal Description field is optional and for your use only:
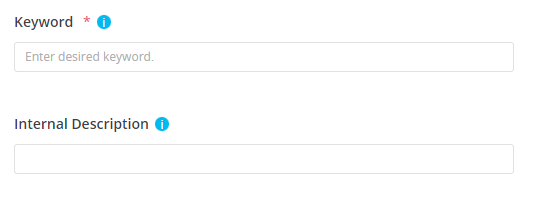
A keyword must be 4 characters in length, alphanumeric, and not case sensitive.
Note: your keyword must adhere to our terms of use and may not include anything that can be considered offensive.
Step 3: Choose Your Opt-in Method
There are two different opt-in methods for you to apply to your text keyword:
- Single Opt-In: After a keyword text, customers are automatically opted-in to receive communications.
- Double Opt-In: After a keyword is text, customers are required to reply “Yes” or “No” to confirm notification opt-in.
If you would like to use single opt-in select “disabled” in the drop down menu, and if you would like to use double opt-in select “enabled”:

Step 4: Select Your Keyword’s Recipient
Select which distribution list you would like to add new subscribers to with the keyword of your choice. To do this select the plus icon to select or create a new list:

You can also select recipients by Organization Name. Select the drop down menu associated with the organization name field. Then the organization name you select will appear in your auto response:

Step 5: Create an Opt-in Message
To create the message that new subscribers will receive when they opt-in select the button that says “Set Auto Response”. Then type in the message in the text box that says “Please enter text message” and click save when you are done.
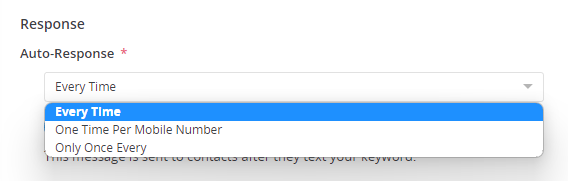
There are three different frequencies to send these auto-responses:
- Everytime
- One time per mobile number
- Only Once Every: a custom frequency you can select as daily, weekly, or monthly.
Optional: you can also add an alternate auto-response; a message that is received by contacts that have already texted your keyword.
When this is enabled, a subscriber will receive the original auto-response when he or she texts in your keyword for the first time.
Every time afterwards, they will receive the alternate auto-response.
How to Capture Data From Your Text Keyword
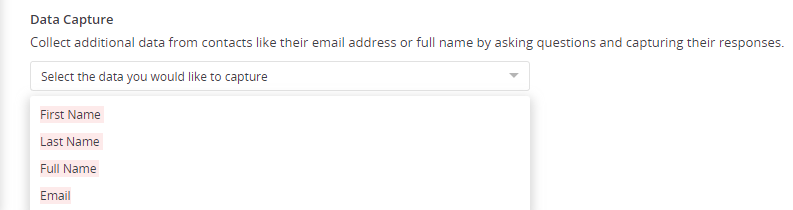
If you would like to capture some data from new contacts such as their First name, you would select the drop down labeled “Select the Data you would like to capture”.
In the drop down select the specific data that you would like to capture. Note that you will now have an auto response generated that will ask for contacts to provide their First name, and a message after their First name has been received.
Step 6: Create Your Text Keyword
Once all is set, select create.
After you have created your text keyword, you will notice that its status appears as pending. That means that the keyword and your auto response is being reviewed to make sure that it does not contain any prohibited content.
Please allow sometime for this status to update. You can check the status by refreshing or returning at a later time.
Once your keyword has a status of active this means that it is live and people may text this keyword.
If it is denied, you will need to delete and recreate the keyword.