
To get started, select Messages on the navigation bar to the left and then “Mass Messages”.
You will then select the button named “Compose”.
Step 1: Compose a Message
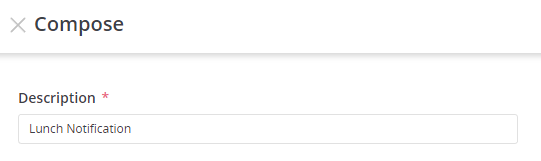
Start creating the message’s description. This description is for your reference only, and to help you remember what this message was about.
Example: if this message is for a catered lunch notification, you just put in “Lunch Notification” as a description:
Next, select the Organization name that appears at the beginning of the message. This will help contacts who receive your message better identify who is sending the message.
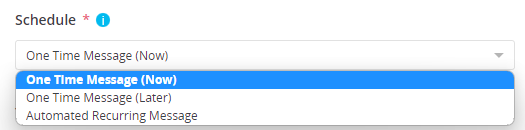
Now you can schedule when you want to send the message. There are 3 options to choose from:
- One time message (to be sent now): This message is sent out just one time to your selected contacts, immediately.
- One time message (to be sent later): a message that would be sent out one time at a later date and time of your choosing.
Note: credits will be withdrawn at the time of scheduling. However, if the total number of contacts for this message goes out to changes, credits will either be withdrawn or refunded back to your account. - Automated recurring message: This message will go out at a frequency that you set of either yearly, monthly, weekly, or daily through a date range.
Step 2: Choosing Recipients/Distribution Lists
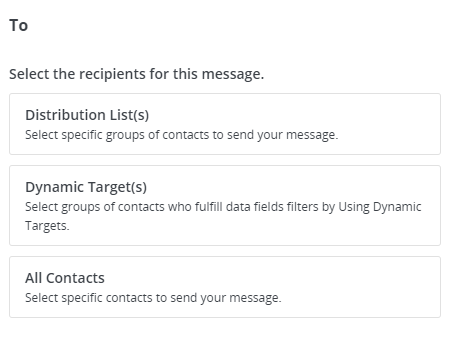
Press the button “select the recipients” to select who you’re going to send your message to.
You have three options to choose from:
- Distribution List: choose one or multiple lists to send this message to.
- Dynamic Targets: These are a group of targets that fulfill specific filters created by you. Note: you must first create a dynamic target before being able to use this as a recipient option.
- All contacts: you can select specific contacts to send a message to.
Step 3 – Send Your Message
Trumpia is a multi-channel platform, so you can send out messages either through email and or by text:
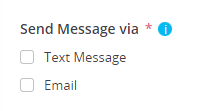
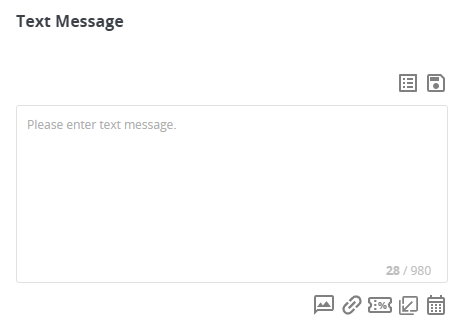
Check the box next to each option to select or deselect them. A popup will appear on the right hand side where you can enter the message you want to send:
When you’re happy with the content of your message, save the message and then press send. A popup will display showing the credit cost of your message and the number of messages being sent out.
If you would like to make any changes to your message, you can do so by clicking ‘Cancel’ on the credits pop up. Then, you can make all the necessary adjustments. If you are happy with your message, select Send on the same pop up.